+86-18061522097(WhatsApp)
Language:
Causes of Bolt Torque Decay and Countermeasures

Time:2025-08-28

Share:

Bolt-fastening failures often stem from one root cause—torque decay. After assembly, the preload (clamping force) of a bolt quietly decreases over time. At best, this leads to joint loosening or sealing failure; at worst, it triggers equipment vibration, structural separation, or even safety accidents. A deep understanding of its causes—and the adoption of targeted measures—is therefore critical for ensuring long-term, reliable operation.

wechat_2025-07-18_150904_827.png

Three Core Causes of Torque Decay

Excessive Surface Roughness of the Joint

When mating surfaces are uneven, the contact pressure beneath the bolt head or nut becomes highly non-uniform. Under high preload, local plastic deformation occurs rapidly, causing a sharp loss of clamping force—especially during the initial stage.


Characteristics of Soft-Joint Materials

Plastics, rubbers, composites, or certain sealing gaskets exhibit creep under sustained clamping force: the materials slowly “flow,” consuming the bolt’s elastic elongation and leading to a progressive loss of preload over time.


Deficiencies in Tightening Process

    • Excessive Speed
      A final tightening speed that is too high (e.g., >300 rpm) generates large inertial impacts that exceed the material’s yield point, causing thread or bearing-surface deformation and subsequent preload loss.

    • Stress Concentration
      Tightening bolts individually or in an incorrect sequence (e.g., clockwise one-by-one) creates localized stress superposition. Internal stresses that are not released in time seek equilibrium via local yielding or creep, resulting in an overall drop in clamping force.

Systematic Solutions to Reduce Torque Decay

  1. Optimize the Contact Interface

    • Precision Machining
      Strictly control the flatness and surface roughness of both the bolt head/nut bearing surfaces and the clamped components.

    • Reinforce Bearing Capacity
      Use hardened washers to enlarge the contact area and distribute pressure evenly, effectively resisting plastic deformation.

  2. Address Material Creep

    • Material Selection
      Whenever functional requirements allow, favor engineering plastics or composites with superior creep resistance.

    • Structural Compensation
      Integrate elastic elements (e.g., spring washers). When clamping force decreases due to creep, their elastic recovery automatically compensates for part of the loss, maintaining a relatively stable preload.

  3. Upgrade the Tightening Process

    • Speed Segmentation Control
      Reduce the final tightening speed to below 30 rpm to avoid impact overload. Intelligent tools such
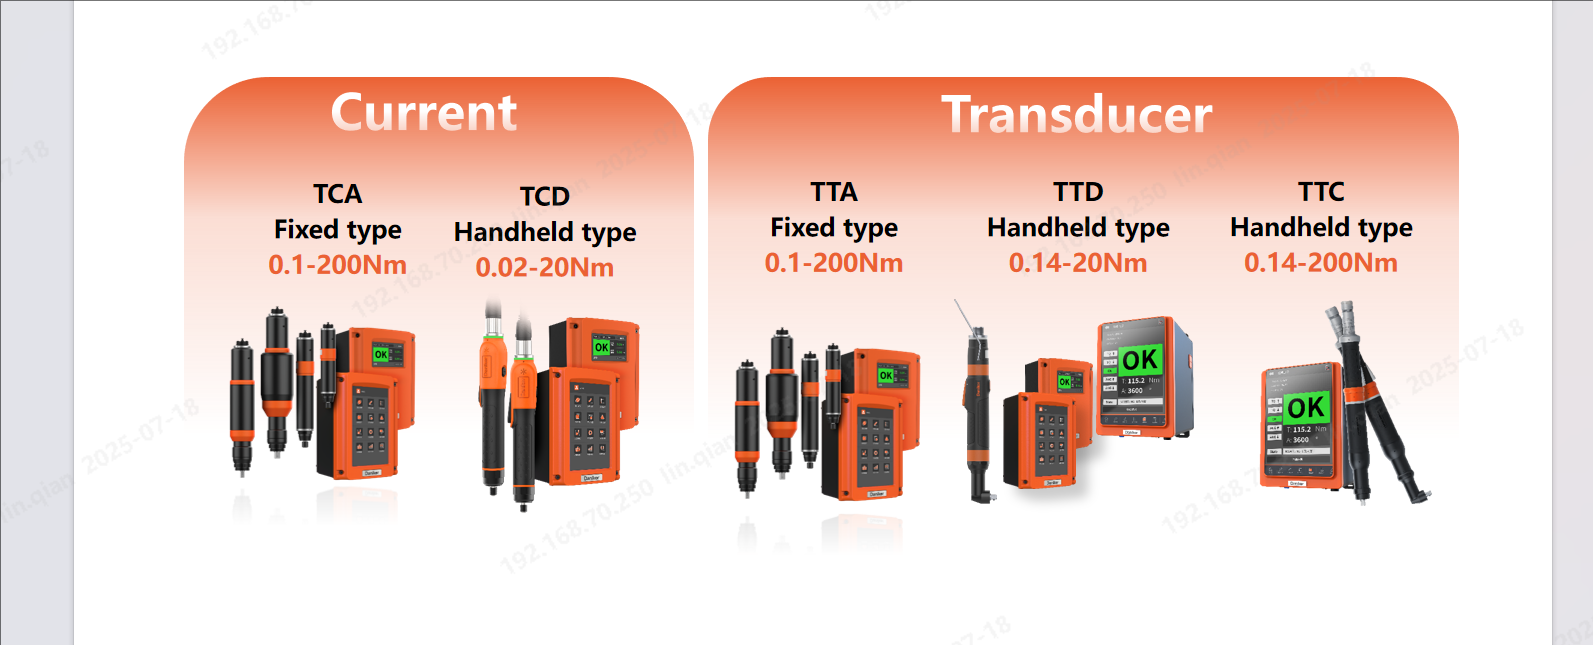
      as Danikor nutrunners provide precise speed regulation, adjustable torque, and multiple tightening strategies to ensure proper fastening.

    • Multi-Step Tightening
      Adopt a “tighten–pause–re-tighten” strategy: after reaching the target torque, pause (e.g., several minutes) and then apply a supplementary tightening to the set target. This markedly improves preload stability

    • Synchronization & Sequencing Strategy
      For multi-bolt joints, use
      a diagonal cross-tightening sequence and apply load in several uniform passes. For critical flanges or sealing faces, multi-spindle synchronous tightening systems eliminate offset loading, ensure uniform stress distribution, and achieve the goal of correct tightening.


Related Reading